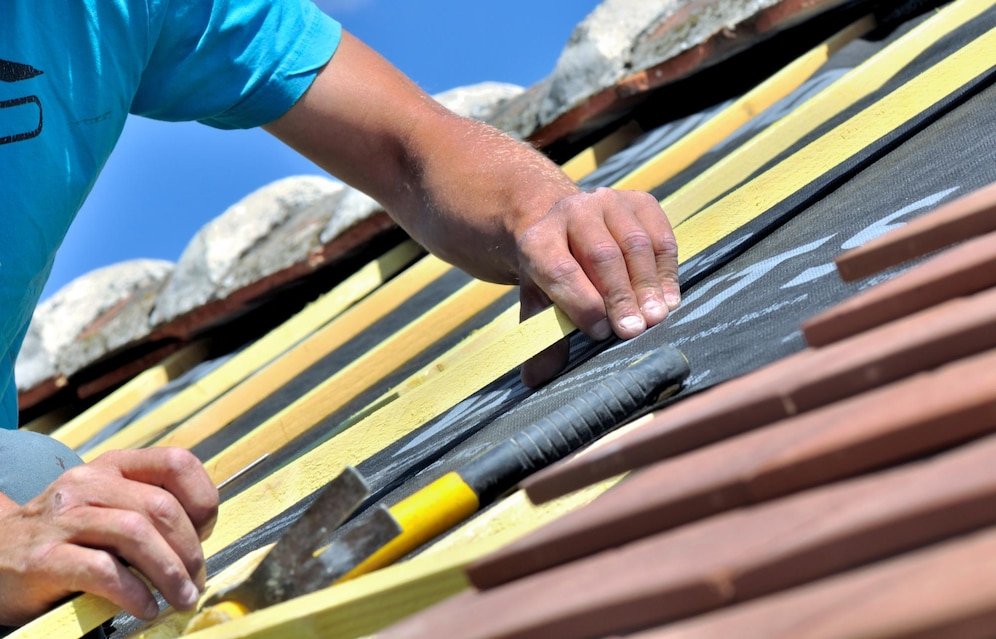
A leaky roof can cause significant damage to your home if not addressed promptly. Water infiltration can lead to mold growth, structural issues, and costly repairs. Whether you’re dealing with a minor leak or a major issue, this step-by-step guide will help you fix a leaky roof and prevent further damage.
Step 1: Identify the Source of the Leak
Before you can fix a leaky roof, you need to determine where the water is coming from. Here’s how to locate the leak:
- Look for water stains or discoloration on ceilings and walls.
- Check the attic for damp insulation, mold, or water trails.
- Inspect the roof for missing, damaged, or curled shingles.
- Examine flashing around chimneys, vents, and skylights for cracks or gaps.
Step 2: Gather Necessary Tools and Materials
Before you start the repair, make sure you have the following supplies:
- Roofing nails
- Roofing sealant or caulk
- Replacement shingles
- Roofing tape or patching kit
- Ladder
- Safety gear (gloves, harness, goggles)
Step 3: Temporary Leak Prevention
If you can’t immediately fix the leak, use a temporary solution to prevent further water damage:
- Apply roofing tar or a waterproof sealant over the affected area.
- Use a tarp secured with nails or weights to cover the leak.
Step 4: Replace Damaged Shingles
If the leak is caused by missing or broken shingles, follow these steps to replace them:
- Carefully remove the damaged shingle by lifting the edges and removing the nails.
- Slide a new shingle into place and secure it with roofing nails.
- Apply roofing sealant around the edges for a secure fit.
Step 5: Seal Gaps and Cracks
Leaks can also occur around flashing, vents, and skylights. Use roofing sealant to fill in any gaps or cracks in these areas.
Step 6: Check and Repair Roof Flashing
Damaged flashing is a common cause of leaks. If you notice rusted or detached flashing:
- Remove the old flashing carefully.
- Install a new piece, securing it with roofing nails.
- Seal the edges with roofing caulk or sealant.
Step 7: Inspect and Maintain Your Roof Regularly
Prevent future leaks by conducting routine roof inspections:
- Check your roof after heavy storms.
- Keep gutters clean to prevent water buildup.
- Trim overhanging branches that could damage shingles.
When to Call a Professional
If the leak is extensive or if you’re unsure about making the repairs yourself, it’s best to contact a professional roofer. Roofing professionals have the experience and tools to handle complex repairs safely and efficiently.
For expert roofing repair services, visit Roofers.io to find trusted professionals in your area. Addressing leaks promptly will protect your home and save you from costly repairs down the line.

